POV-Ray blobmap
About
Exploring POV-Ray again 20 years later.
Download POV-Ray
I use MacOS so downloaded a build via povrayunofficial.wordpress.com, there’s a recently compiled version (hosted on Google Drive here) which has some nice additional native features.
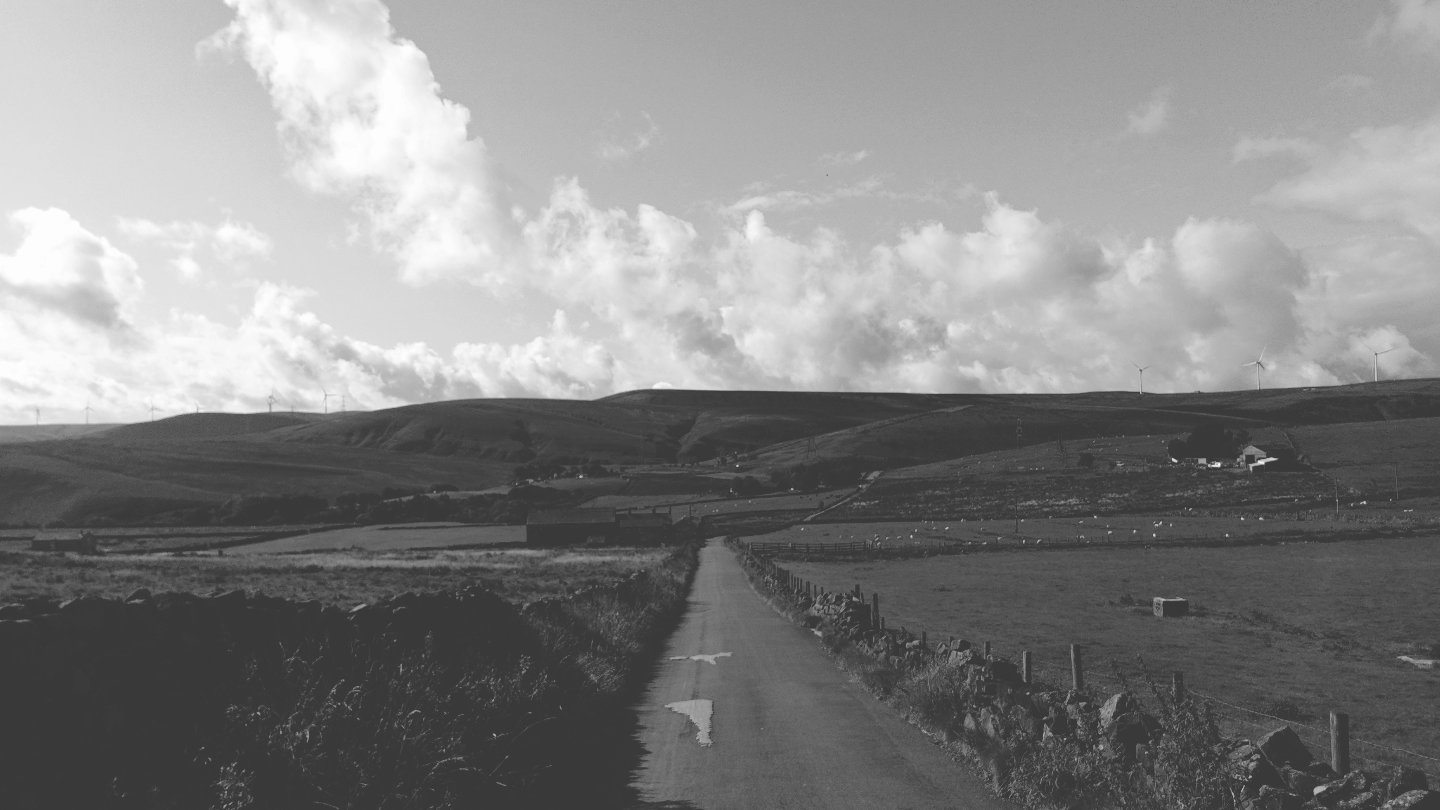
Source image
Choose a source image. eg:
.pov file
Save the source image in a directory with a POV-Ray source file,
blobmap.pov:
// Persistence Of Vision raytracer version 3.8
// Blob shape with environment map example
#declare imageFile = "source.png";
global_settings { assumed_gamma 2.2 }
camera {
location <0, 0, -5>
direction <0, 0, 1.2071>
look_at <0, 0, 0>
}
//Similar to sky_sphere but with no_image set so it doesn't draw
sphere {
0,1.3
pigment {
image_map {
png imageFile once interpolate 2 map_type 1
}
}
finish {
emission 1.2
}
scale 30
hollow
no_image
}
blob {
threshold 0.60
sphere { <.75, 0, 0>, 1, 1 }
sphere { <-.375, .64952, 0>, 1, 1 }
sphere { <-.375, -.64952, 0>, 1, 1 }
scale 1.75
finish {
ambient 0.9
diffuse 0.5
reflection .82
}
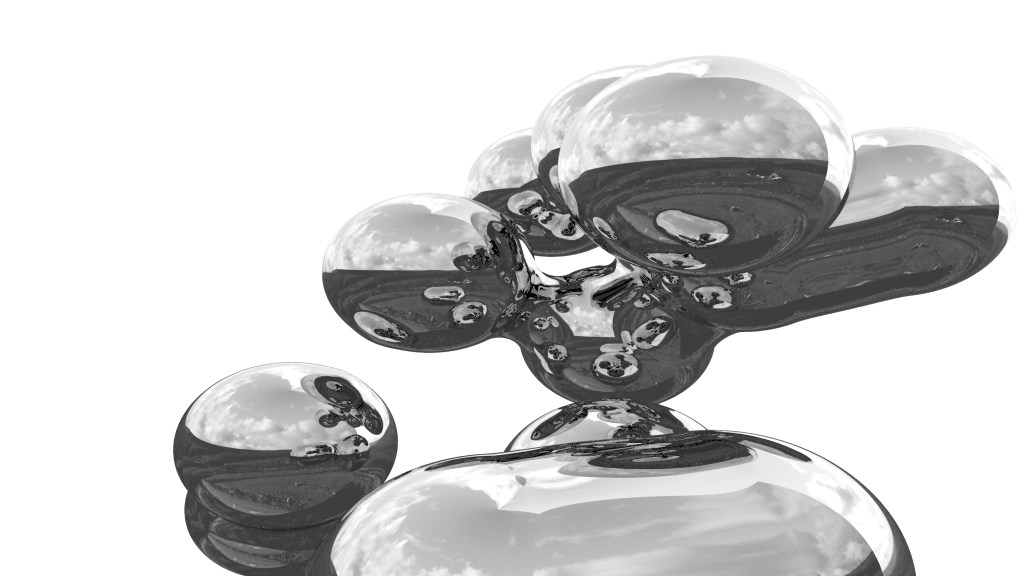
}Render settings
In the MacOS POV-Ray GUI navigate to Main Menu > Settings > Image & Quality and set Image Type as PNG and toggle ‘Add Alpha Channel’ to on. Click Render.
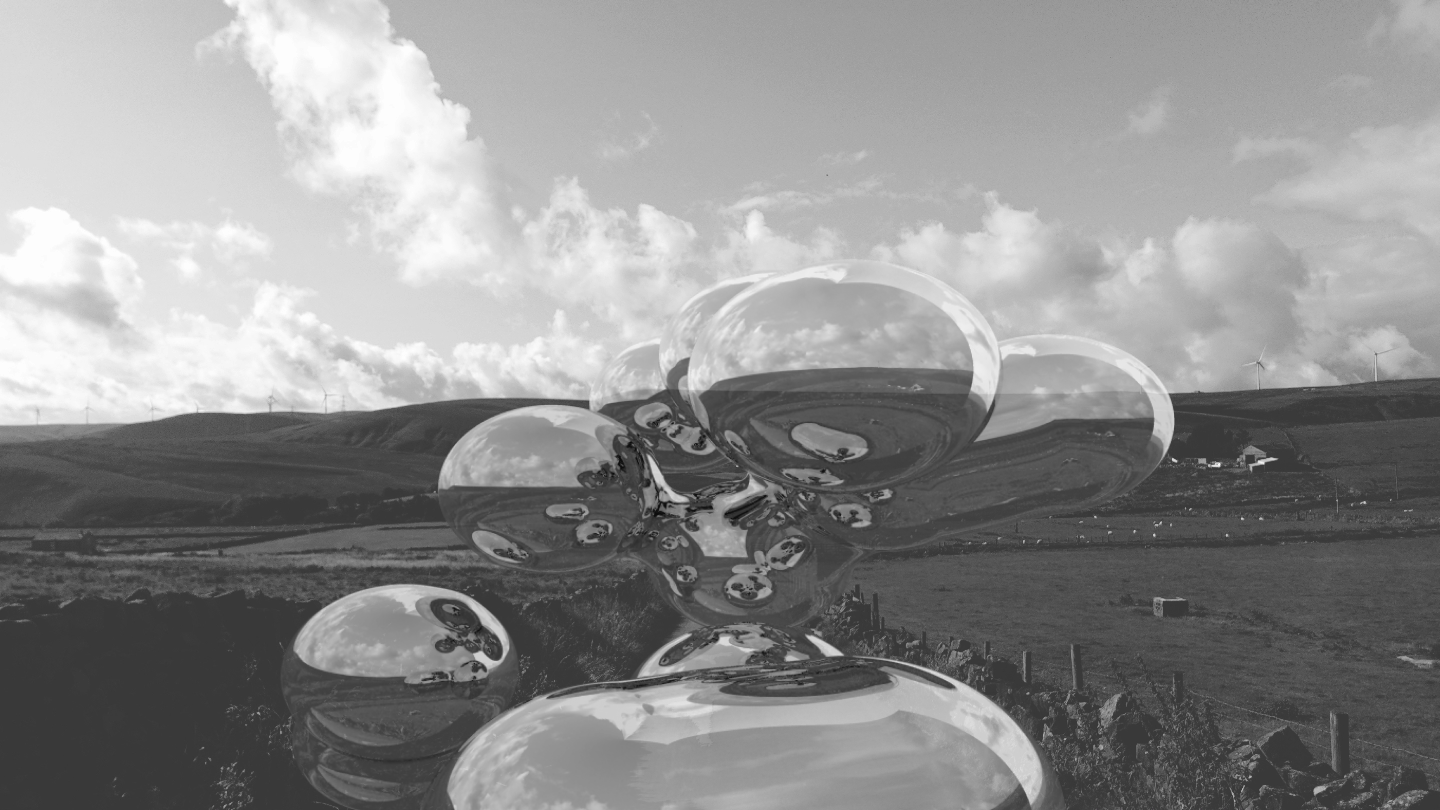
Final image build
Combine the rendered image with the source image in any image editor, I used Figma and tweaked the 3D image slightly, made it slightly semi-transparent and altered the shadows and exposure.